
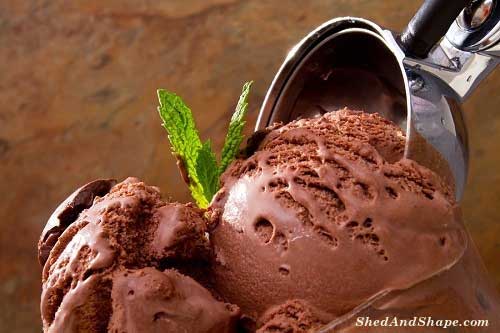
Although the keto diet relies heavily on meat, fish, healthy fat and low carb vegetables, dairy can also be included in your diet. So if you find yourself craving for ice cream on your low carb diet you could make this delicious no churn Keto Chocolate Ice Cream and indulge!
Many recipes require that you use an ice cream maker but this low carb ice cream is no churn. It’s technically a gelato which is creamier and fattier and tastes much richer than regular ice cream. So much so that you won’t be able to stop eating it!
So, here’s the Low Carb Keto Chocolate Ice Cream recipe from Megha Barot of Keto Connect. Megha and Matt started the site after they realized their results from the ketogenic lifestyle were too good not to share.
Related reading: 9 Proven Benefits Of A Ketogenic Lifestyle
The recipe uses only 5 ingredients and the ice cream is sweetened with erythritol, a low carb sweetener. One comment from a viewer under Meghan’s video says she added a teaspoon of espresso powder to deepen the chocolate flavor.
Another recipe you might like for a low carb, keto iced dessert is this one for
Keto Blueberry Cheesecake Popsicles
Keto Chocolate Ice Cream
Ingredients
• 1 cup heavy whipping cream (organic if you can get it)
• 2 large yolks (organic are best)
• 1/2 teaspoon natural vanilla extract
• 1/3 cup powdered erythritol
• 1 1/2 tablespoons unsweetened cocoa powder
Directions
1. In a saucepan, mix the powdered erythritol or swerve confectioners with the heavy whipping cream. Set on medium-high heat and bring to a boil then lower the heat to simmer.
2. While the mixture is simmering add the coco powder and mix well. Remove as many lumps as possible.
3. In another bowl, combine the vanilla extract and egg yolks. Set aside.
4. Continue stirring the ice cream mixture until it thickens. Once thick, remove the pan from heat. Leave to cool for up to 5 min.
5. Once cooled, add the mixture slowly to the egg yolks and whisking well with a hand mixer or a fork. After everything is thoroughly combined, whisk well until the top portion develops a slight frothy texture.
6. Place in a suitable container in the freezer for four to six hours. Make sure to give the mixture a good stir once every hour.
7. Take out of the freezer for a short while before serving so it softens enough to become scoopable. Enjoy!
Here’s a demo video of the delicious recipe:


